
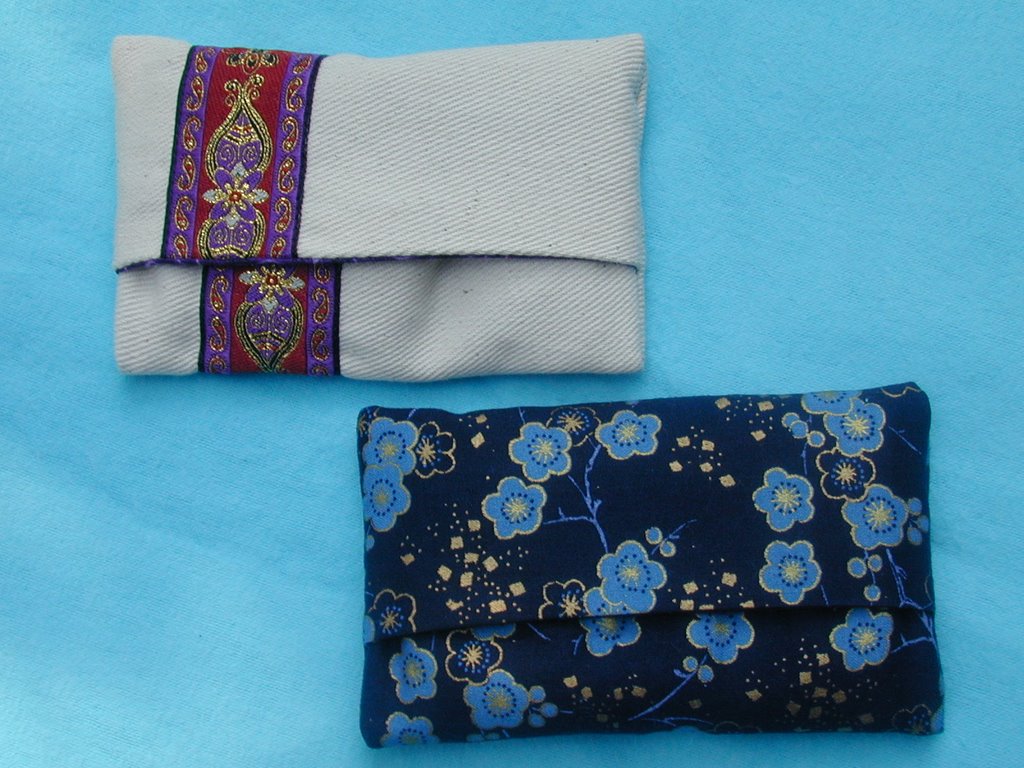
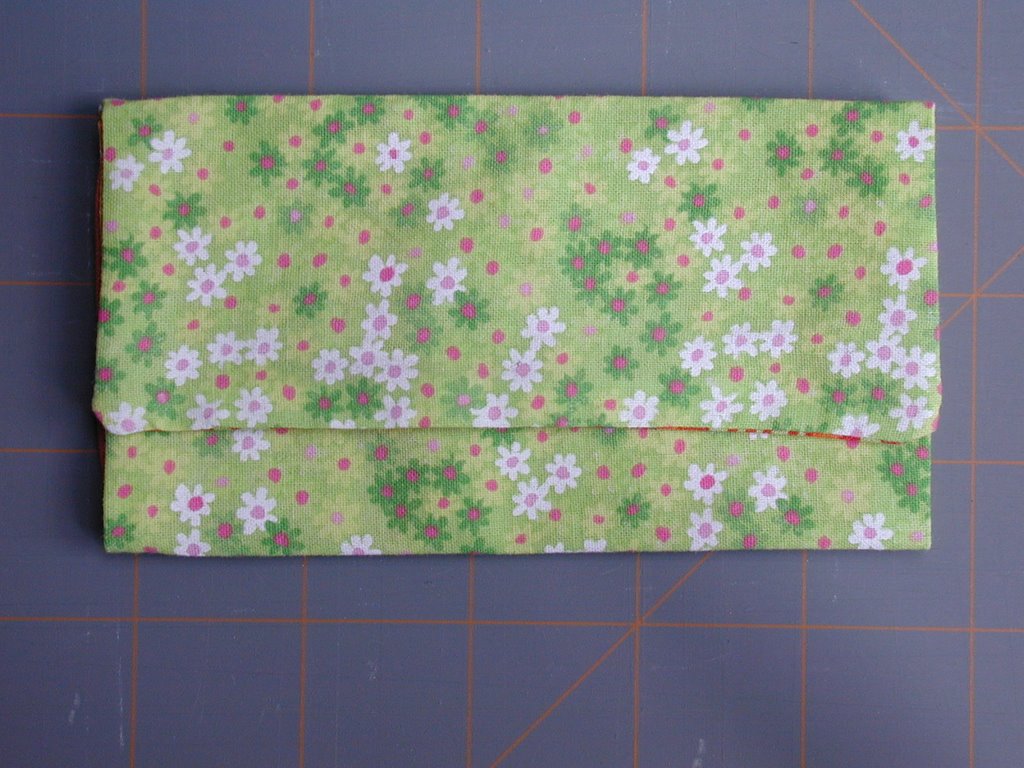
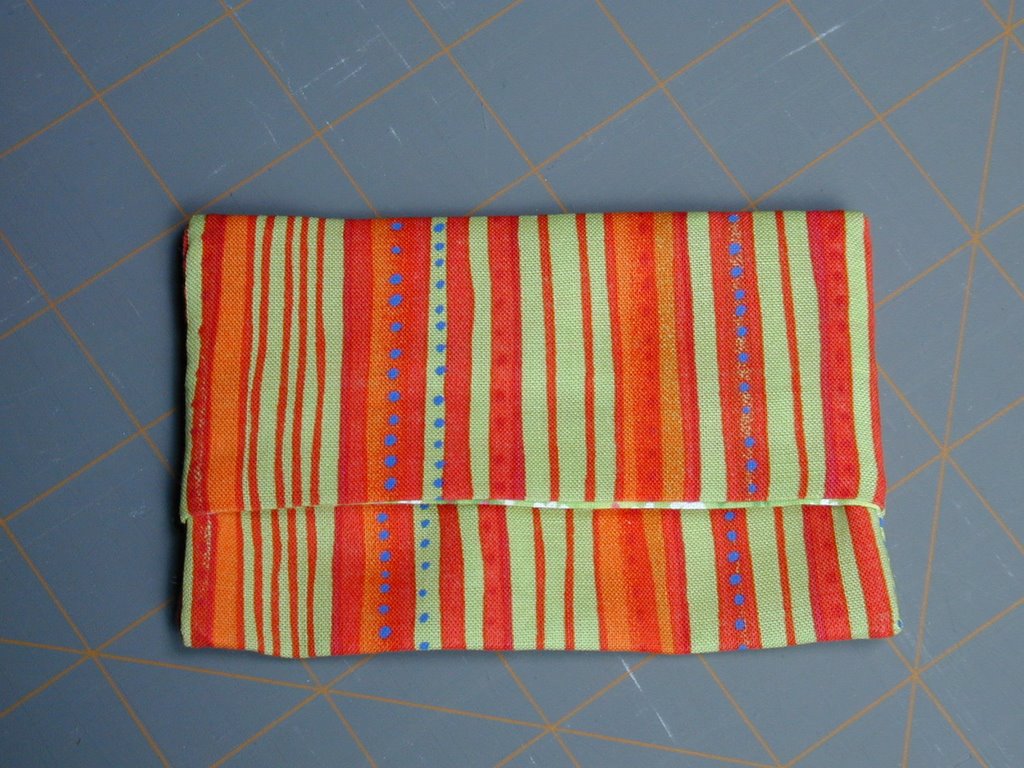
This are two tissue holders I made recently:
And here it goes the tutorial:
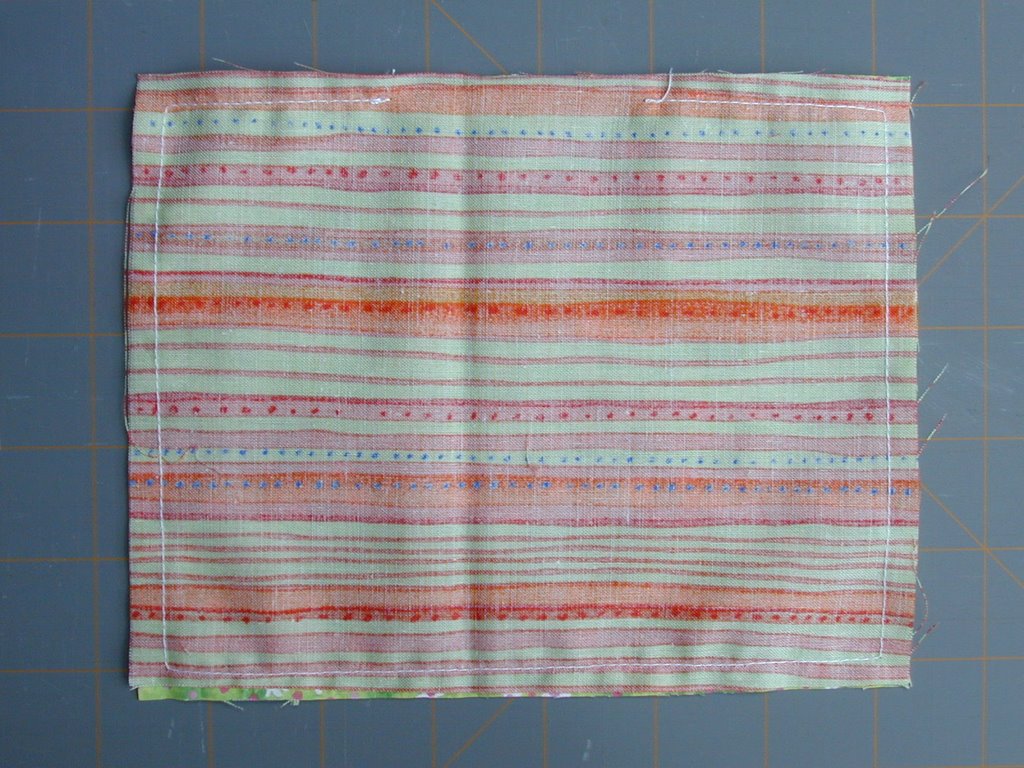
1. Cut two pieces of fabric, one for the outside and the other for the lining. The dimensions should be 6 inches x 7 inches.

2. With right sides together, sew a 1/4 inch seam around the border leaving 4 inches open in the longer side.
3. Open the seams of the side you left open and iron.
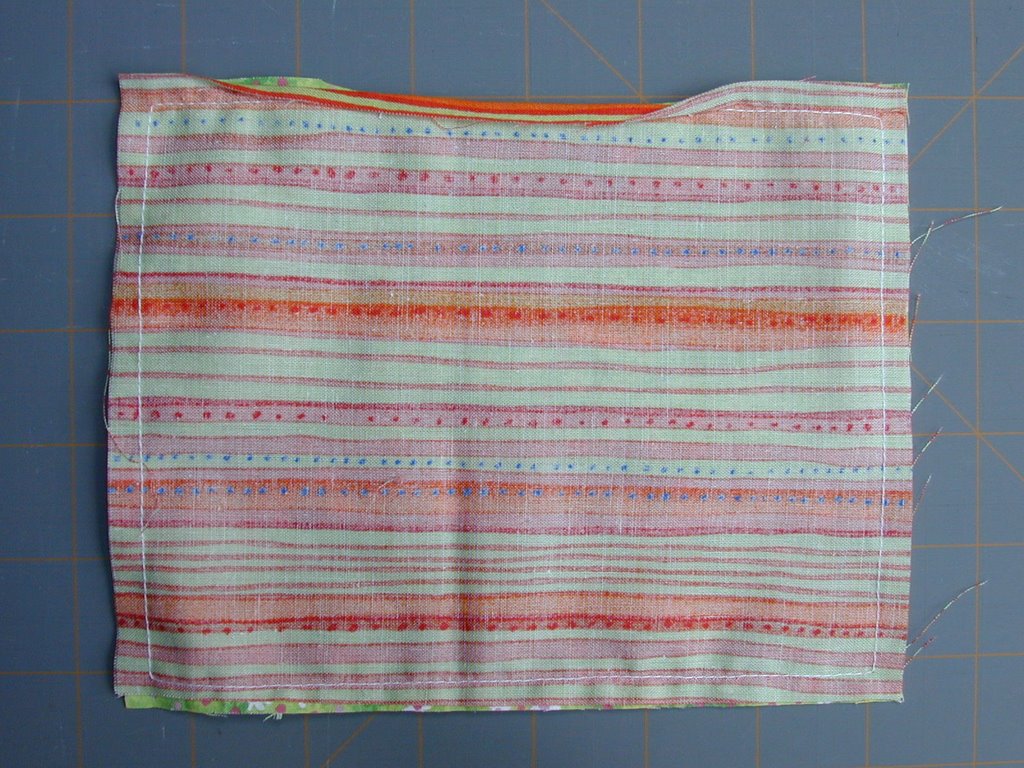
4. Turn right sides out and iron again. To make sure the corners are nice and pointy I use a chopstick to push them out.
5. Fold it with lining side out so that the 2 sides overlap 3/4 inches.
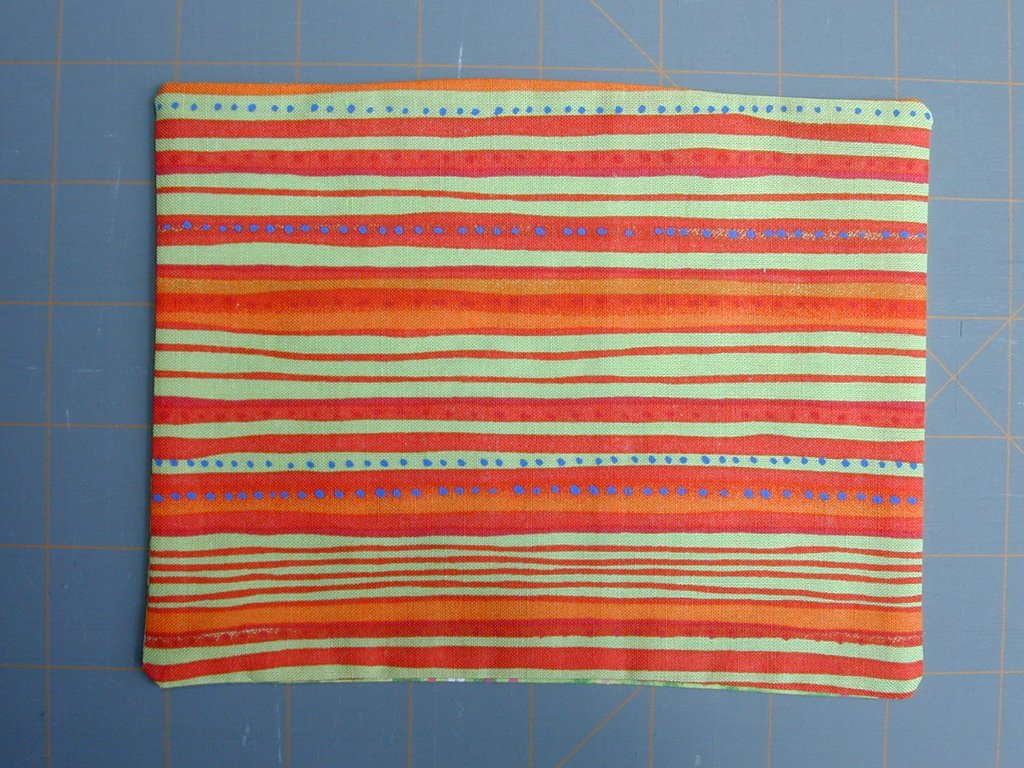
6. Sew it in the sides, this time leaving only 1/8inch seam allowance.Turn around and push corners out again with a chopstick. Iron again and voila! there you have it!
3 comments:
Guau!!! No se ve dificil, Carmen. Voy a tratar de hacerlo a ver que resulta, me gusta como quedan!!!
Siii!!!, que sencillo se ve...sera por la claridad de tu explicacion.
Las telas estan muy bonitas, algunas ya las reconozco.
Olá querida
Seu blog é show. Muita coisa bonita e interessante, tu es uma artista. Parabens.
Bjs Elaine
Post a Comment